|
|
|
|
|
|
|
||||||
Nova Kit CarPrevious Jobs Completed (well not in all cases) |
|||||||||
| I only get to go back to the UK to work on my kit car once or twice a year, so as you can imagine progress has been slow. This page is a quick summary of the jobs done on previous visits. The photos below are from previous visits | |||||||||
|
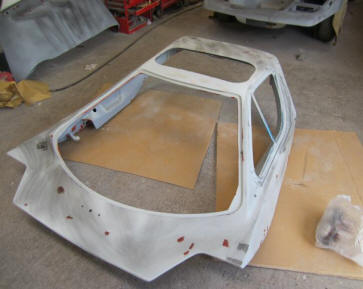
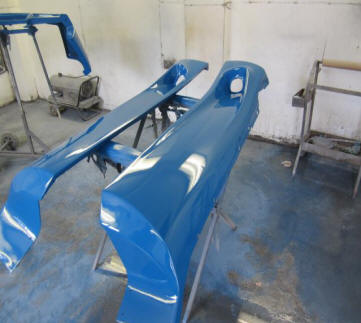
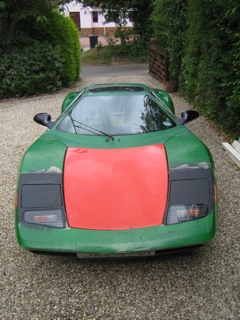
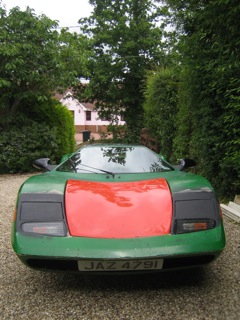
Most of the body preparation work has been completed and its sitting mostly in primer and black guide coat to identify and high or low spots. |
 |
||||||||
 |
|||||||||
 |
|||||||||
|
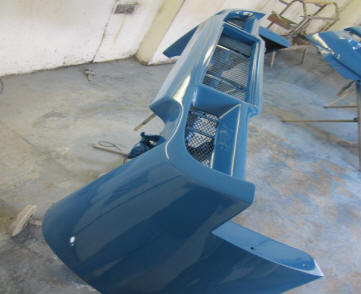
Most of the body preparation work has been completed and its sitting mostly in primer and black guide coat to identify and high or low spots. |
 |
||||||||
 |
|||||||||
 |
|||||||||
 |
|||||||||
|
One of the main jobs I did this time was to rebuild the Steering Rack Linkages and track rod ends to get it through the MOT, unfortunately I didn't take any photos of this.
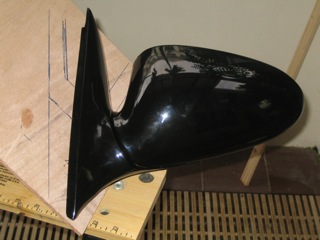
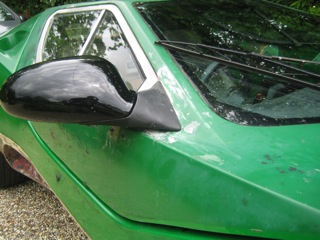
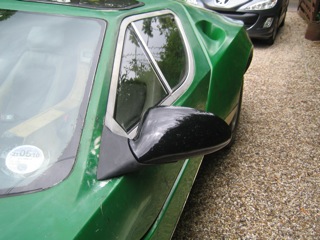
The other main job was building the mounts for the wing mirrors. These started as stock Buick Regal Mirrors that I had sent to Singapore from the USA.
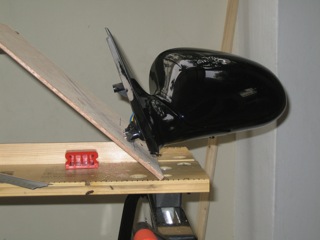
Stage 1 -The first part of the job which included mocking up the car windows shape and angle. The first 2 stages were completed in Singapore.
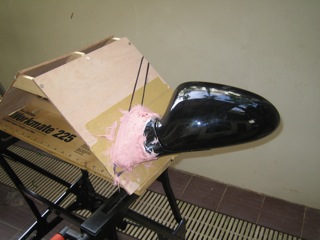
Stage 2 - I used fibreglass filler to mock up the new mount shape to conform to the pattern of the window line. This stage also involved embedding new mounting points and collars into the fibreglass as the original mounts were chopped away.
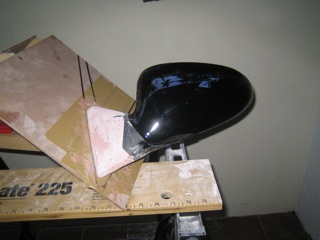
Stage 3 - Final fitting and shaping was done in the UK, only minor changes were needed and I was pretty happy with the result.
Stage 4 - The finished look. Once colour coded with the main body it will blend nicely with the overall look and the mirrors curves suit the cars shape well.
|
       |
||||||||
 |
|||||||||
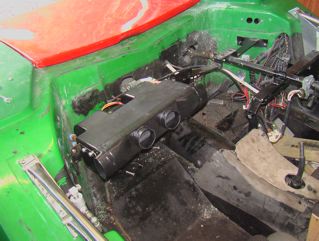
| I purchased a second hand Mark IV Nova dash as the previous Mark II didn't really allow much space for the new heater / AC unit I needed to fit. |
 |
||||||||
| I fibreglassed in an air duct channel to make it easier to add the air vents for demisting later |
 |
||||||||
| The new heater / AC unit fitted (but only plumbed in for the heater currently). The AC piping will have to be a job for next time. |
 |
||||||||
| The new quiet Hydrapack hydraulic pump is fitted replacing the previous Smiths Mini Pack (which worked well but was very noisy in operation). |
 |
||||||||
The photos below are from the visit in Nov 2007 |
|||||||||
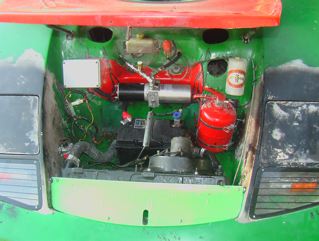
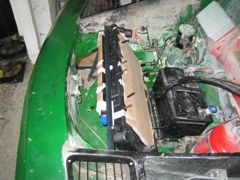
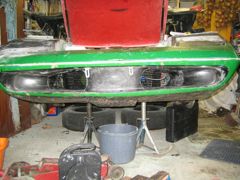
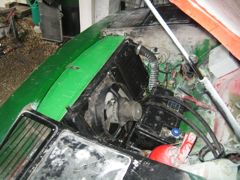
| I had the radiator rebuilt with a larger core as I planned to fit air conditioning which would put a heavier load on the engine. I also fitted the air conditioning condenser radiator in front of the main radiator. I had to temporarily reroute the hydraulic pump pipes as the larger radiator intruded on their original positions. A new hydraulic pump will also be fitted so these were left for now. |
 |
||||||||
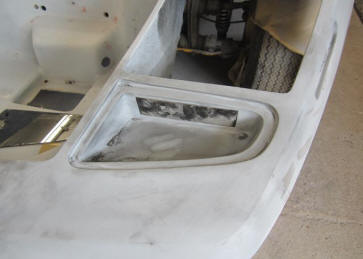
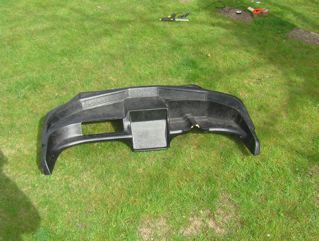
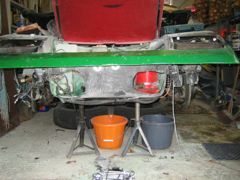
| The original front tub air inlets were enlarged to allow for greater airflow across both radiators |
 |
||||||||
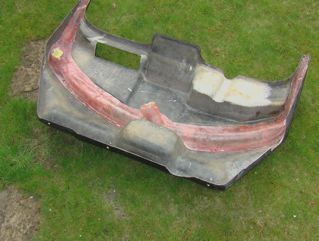
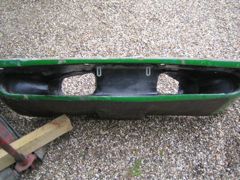
| The front under tray air intakes were further modified to align with the enlarged air intakes in the main tub. They were also extended to ensure that all the forced air went into the radiators. |
 |
||||||||
| The front under tray air intakes were further modified to align with the enlarged air intakes in the main tub. They were also extended to ensure that all the forced air went into the radiators. |
 |
||||||||
| Metal grills were added to the intakes to minimize the amount of crap that could get blown into the intakes. although its a fairly large mesh to ensure the airflow is not reduced too much. |
 |
||||||||
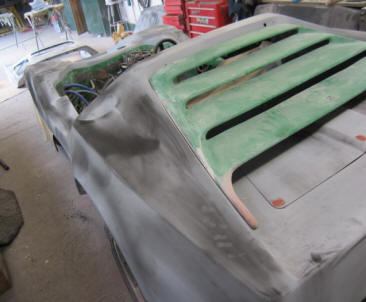
| Finally an aluminum panel was mounted across the top (still with protective green film on) that bolt in place to allow for access later to the fittings and condenser radiator. |
 |
||||||||
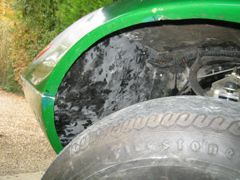
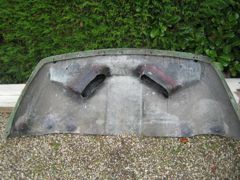
| I finally got around to fitting fiberglass panels that go inside the front wheel arches to keep the road dirt and damp off the pop-up motors and give it that production car finish. |
|
||||||||
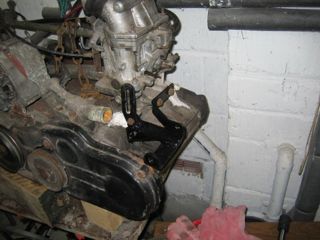
| On an earlier visit I had already mocked up a new bracket to hold the aircon compressor on the engine block |
 |
||||||||
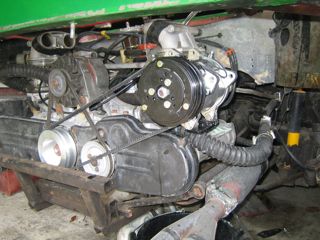
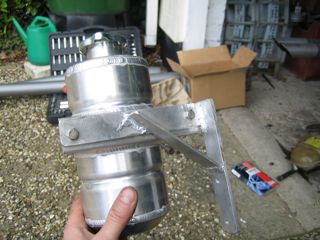
| Here is the new compressor mounted |
 |
||||||||
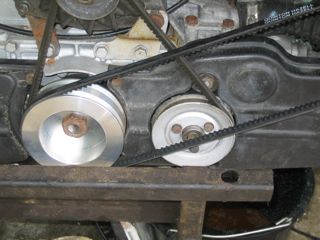
| The new crank pulley was made from scratch to have to pulleys, one for the alternator and the other for the aircon compressor |
 |
||||||||
| I also tried out the lumiweld product I had purchased to make the new bracket for the new header tank. I was quite pleased with the results |
 |
||||||||
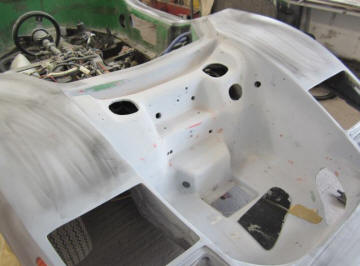
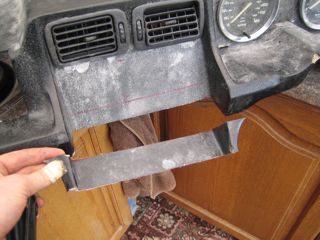
| This is the start of the dash modifications for air vents, radio and heater / aircon controls |
 |
||||||||
|
|